8 DIY Fish Tank Stand Builds — Plans That Hold the Weight
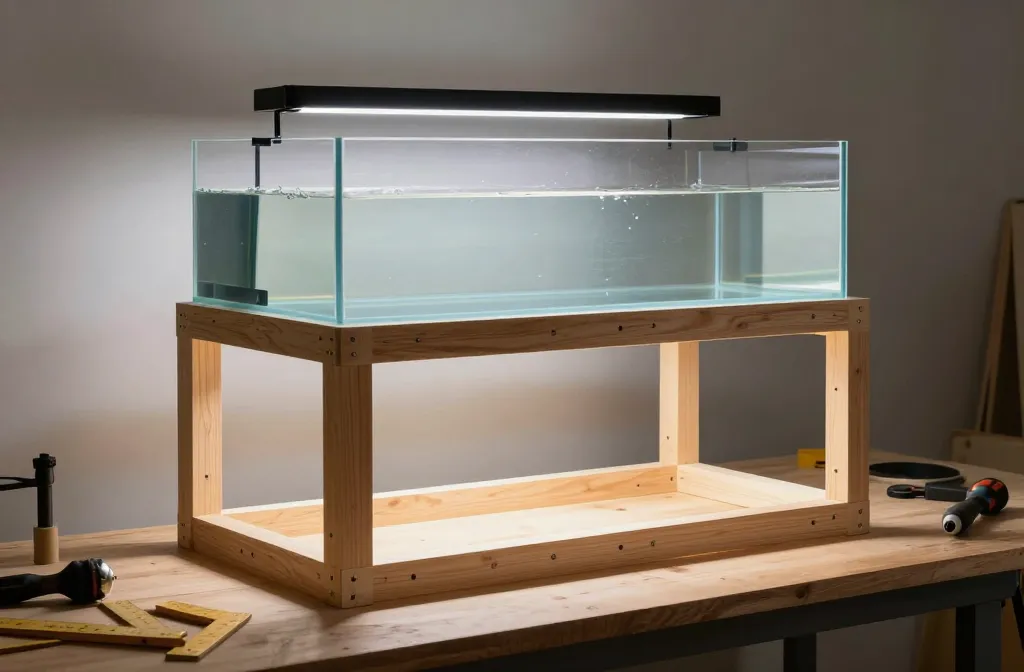
My first 75-gallon stand sagged 2 mm in the middle within six months. I noticed it because the cabinet door underneath started binding — not because the frame cracked. That tiny deflection told me everything about how load paths actually work in a tank stand: weight travels through the glass rims into whatever you built underneath, and if that path bends, racking, or creeps, the first sign is never a break. It’s a sticky door. I rebuilt that frame with 2x6s on top and a center brace, and I’ve been documenting what each approach does well — and what it misses — across eight builds up to 120 gallons.
Water alone sits at 8.34 lb per gallon, plus glass, substrate, and rock. You’re not building furniture; you’re engineering a load-bearing structure that has to stay dead-flat for years. By the end of this, you’ll specify a stand by span, lumber size, joinery, and fastener count — and know whether it will hold or creep. If you’re also planning the aquascape that goes on top, I’ve got a separate piece on aquascape layouts where the focal point belongs.
1. 2×4 Ladder Frame: Vertical Grain Carries the Water
A 2×4 ladder frame puts full-length legs directly under the tank’s corners with continuous rails, keeping the load in compression along the grain. Best for rectangular tanks up to 75 gallons with spans of 48 inches or less.
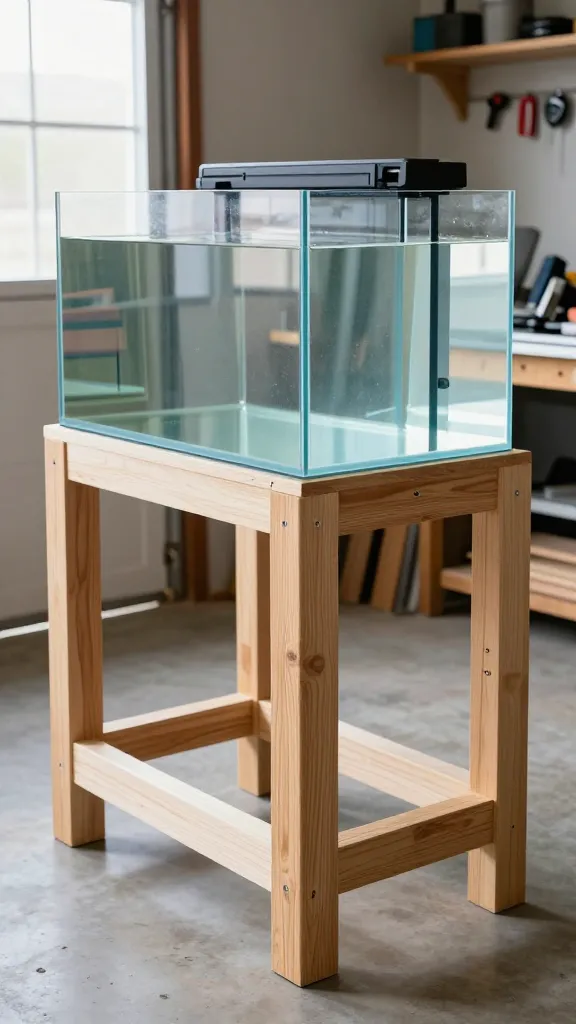
Water weight travels straight down through the glass rims into the stand’s top, then into vertical members; wood resists compression far better along the grain than across it. A “ladder” frame puts full-length 2×4 legs directly under the tank’s four corners and continuous 2×4 rails under the tank rim, so the load stays in compression instead of trying to pry apart screws. For rectangular tanks up to 75 gallons with a 48 in long rim, use kiln‑dried 2x4s for legs and top/bottom rails, with crossmembers every 16 in. Pocket‑hole or half‑lap the corners, then glue and run two 3.5 in structural screws per joint. The limit is midspan sag on frameless or rimless glass — if the tank’s bottom panel must be supported across its full area, this rim-only frame is not enough.
The lumber for this one runs about $35–$45 at my local box store, and I had the first one cut and loaded in an afternoon. Reef Central builders have used this exact approach for tanks up to 90 gallons when the span stays under 48 inches.
2. 2×6 Top Frame for Long Spans: Depth Beats Thickness
Deeper lumber controls midspan sag far more than thicker lumber because deflection drops with the cube of section depth. Use 2x6s on the top rectangle for tanks 60 to 72 inches long, with crossmembers at 12-inch centers and 2×4 legs stacked under the corners.
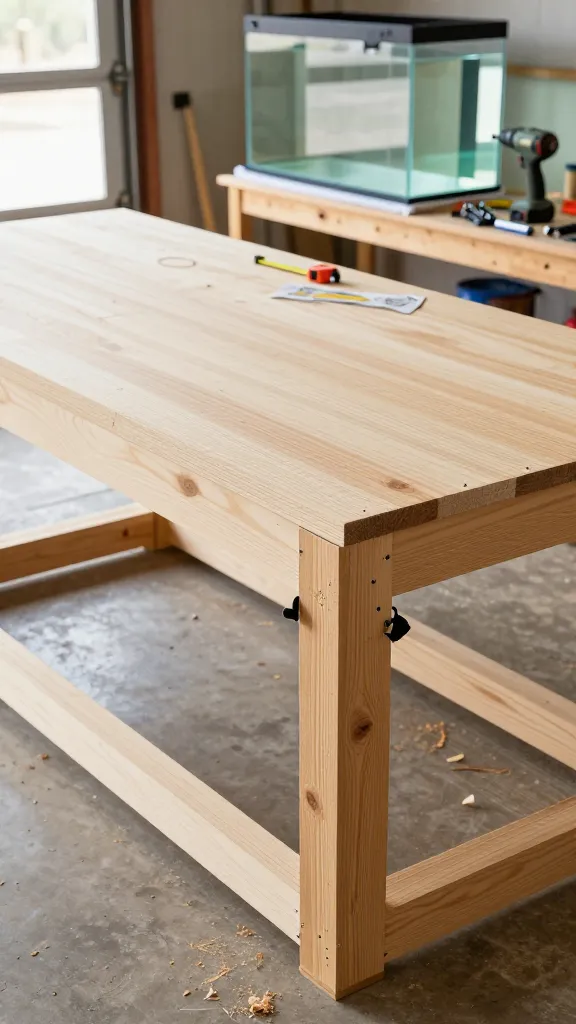
Deflection in a beam increases with the cube of its span and drops with the cube of its section depth, so deeper lumber controls midspan sag far more than a thicker tabletop. If your tank is 60 to 72 in long or rimless, build the top rectangle from 2x6s instead of 2x4s and keep crossmembers at 12 in centers so the glass never sees a gap. Keep the legs as 2x4s stacked directly beneath the 2×6 corners, and add a full 3/4 in plywood deck to spread the load. Expect the frame alone around 50–70 lb; it costs more than 2×4 but stops that slow door-bind from 1–2 mm of sag. The tradeoff is height and bulk: 2×6 raises the display and can crowd a sump if you also need interior clearance.
When my planted 60-inch display needed a planted betta layout with a heavy rock scape, I went with 2x6s on top and it’s been dead flat for two years running. The lumber cost was about $65, roughly double a basic 2×4 frame, but the crossmember spacing let me support rimless glass with confidence.
3. Plywood Box Stand: Shear Walls Stop Racking
A 3/4-inch plywood box uses glued panels as structural shear walls that prevent racking — the parallelogram wobble that ruins tank seals over time. Rip panels with grain running vertically, screw at 6-inch spacing, and add a full back panel.
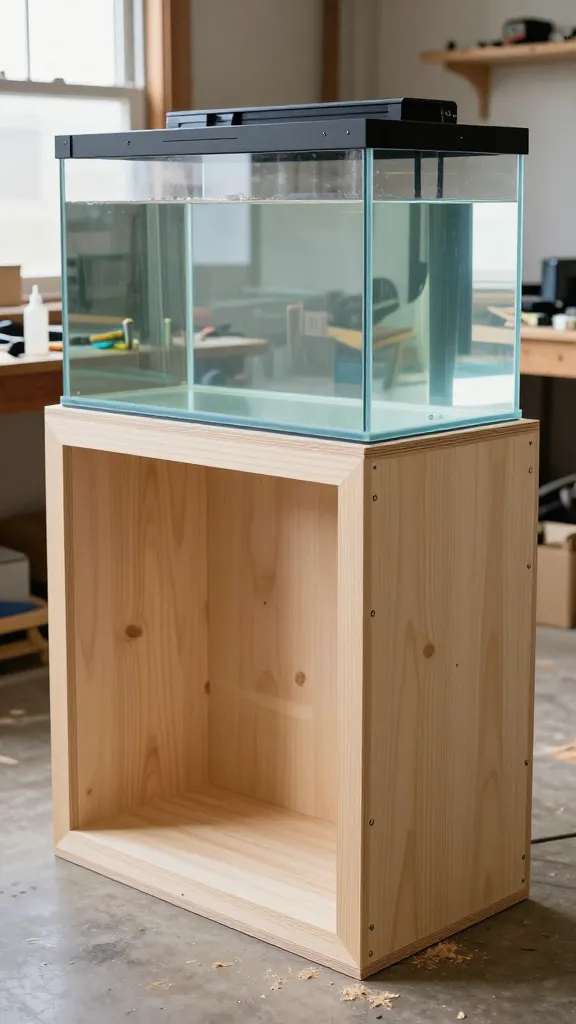
Sideways wobble comes from racking — the rectangle wanting to turn into a parallelogram when a kid bumps it — and shear panels convert that into in‑plane tension that wood resists very well. A box stand made from 3/4 in cabinet‑grade plywood with glued butt joints and continuous back and sides acts like a tiny house; the panels themselves are the structure. Rip panels so the grain runs vertically on the sides, glue and screw at 6 in spacing with #8 x 1.625 in screws, and add a full back panel. With a perimeter top frame and a 3/4 in deck, this will comfortably carry a 90 gallon tank if the load paths land over vertical panels. The limit is edge damage: plywood edges dent easier than solid legs, so protect corners with hardwood trim if it lives in a high-traffic room.
4. Steel Angle Frame: Modulus First, Paint Later
Steel’s elastic modulus is roughly 29,000 ksi — about 15–20x that of construction lumber — so a 1.5-inch angle iron frame with four legs and two crossmembers holds 120 gallons with negligible sag. Welds need full contact and every cut face needs primer to prevent rust near saltwater.
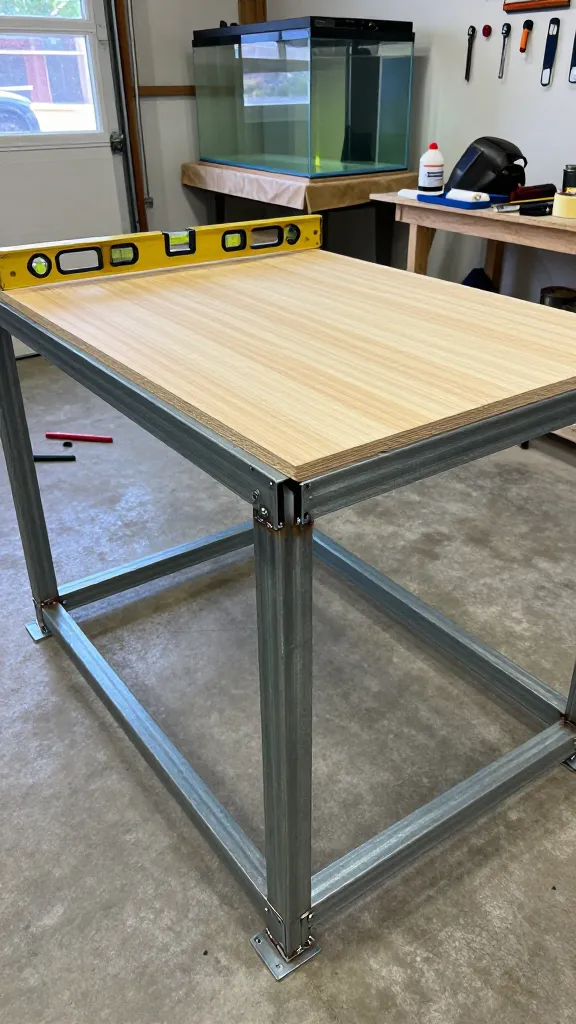
Steel’s elastic modulus is about 29,000 ksi, roughly 15–20× that of construction lumber, so for the same depth, a steel angle or tube frame will deflect far less under the same aquarium. A simple rectangle from 1.5 in x 1.5 in x 1/8 in angle iron with four vertical legs, a perimeter top, and two crossmembers will hold a 120 gallon with negligible midspan sag when topped by a 3/4 in plywood deck. Welds must have full contact, and every cut face needs primer and paint to prevent rust; use leveling feet rated above the combined load. The limit is corrosion and noise: untreated steel near saltwater pits quickly, and thin plate skins can ring unless you add rubber pads and a 1/4 in foam underlayment.
I built a steel angle stand for a friend’s reef setup last spring — about $120 in angle iron and a weekend with a MIG welder. Commercial aquarium stand makers use the same ⅛-inch angle iron spec, which told me I was in the right ballpark.
5. Center Support and Load Paths: Halving the Span Halves the Problem
Adding a center leg pair directly under the tank’s centerline cuts the effective span in half, reducing deflection by roughly a factor of eight. Plan a 20–24-inch door or removable brace if you need sump access underneath.
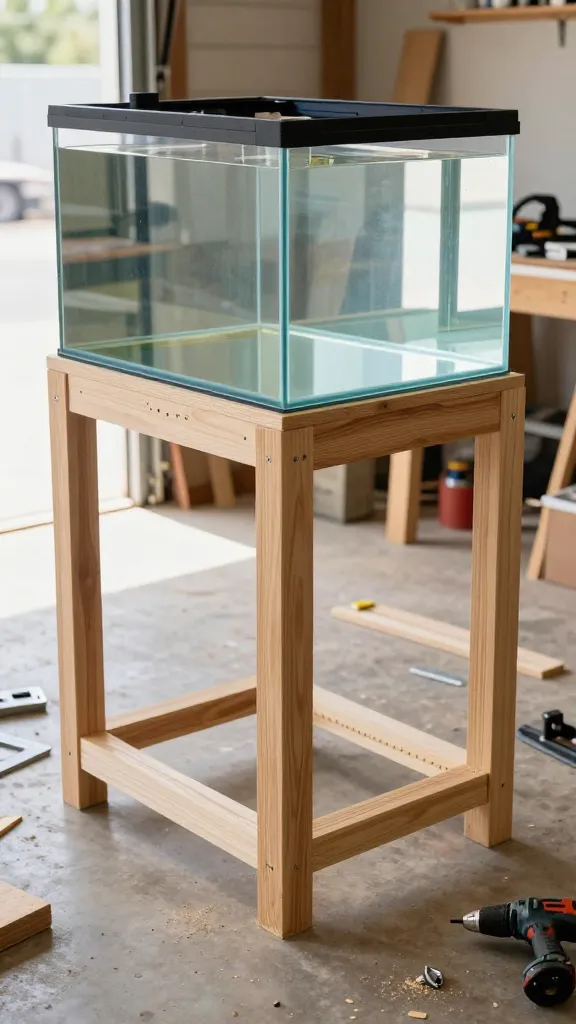
Most deflection comes from span length; cut the effective span in half and you reduce deflection by a factor of roughly eight for the same beam size. If your footprint is 48–72 in long, add a center leg pair directly under the tank’s centerline and a top crossmember that lands right under the tank rim or bottom, transferring load straight to the floor. For a 75 gallon at 48 in, two outer legs plus a center leg pair turn 48 in into two 24 in spans; use a 2×4 or 2×6 crossmember and ensure the floor can take a point load. The constraint is access: that center support steals sump space. Plan a 20–24 in wide door or removable brace if you run a sump wider than 12 in front to back.
6. Leveling and Contact: Foam and Shims Prevent Twist
Glass fails in tension, so an uneven stand twists the tank and creates stress at one seam. Level the stand with composite shims within 1/8 inch, then add 1/4-inch closed-cell neoprene foam under the tank to absorb minor top irregularities.
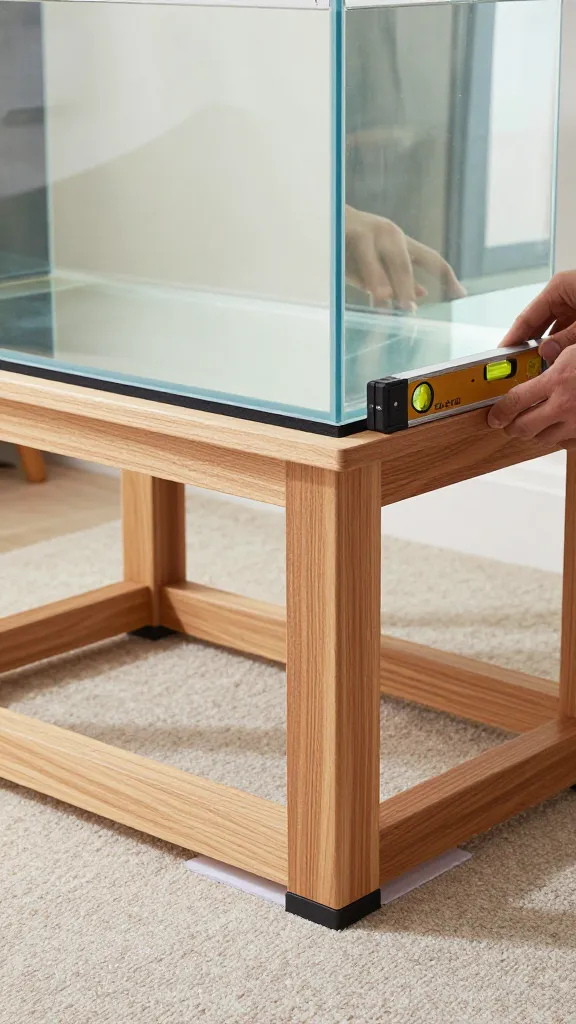
Glass fails in tension; a high corner twists the tank and turns a static load into a stress riser at one seam. The stand must contact the tank and the floor evenly to avoid torsion. On carpet or uneven floors, place the stand, level it with composite shims within 1/8 in across the footprint, then add a continuous 1/4 in closed‑cell foam or dense neoprene under the tank to absorb minor top irregularities. Check the top with a 24–48 in level; aim for under 1/16 in gap under any straightedge. The failure mode is over‑soft foam: yoga mats and soft foams compress unevenly, creating the very twist you were trying to avoid, especially under rimmed tanks that are designed to sit on the rim, not the glass bottom.
I learned this the hard way on my first 40-gallon — skipped the foam layer to save twelve bucks, and a seam split eight months later. Now I put 1/4-inch neoprene under every tank I set up, no exceptions.
7. Fasteners and Glue: Screws Clamp, Adhesive Carries
Wood movement loosens pure mechanical joints over seasonal humidity, so structural adhesive on every mating face plus two pre-drilled screws per joint creates a permanent bond that spreads load beyond the screw shank. Dry-fit and square everything first — glued joints are not reversible.
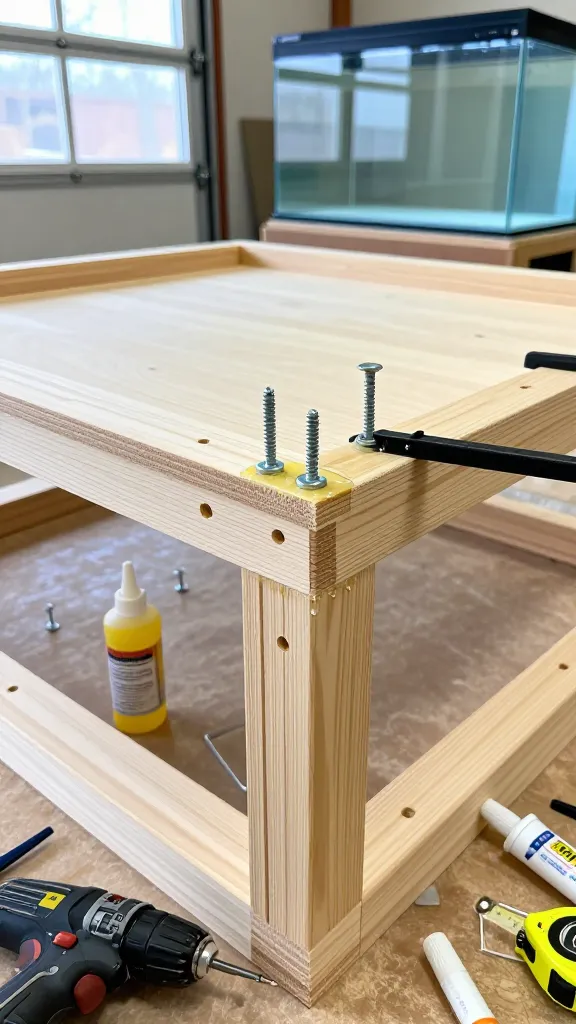
Wood movement loosens pure mechanical joints over seasonal humidity; a structural adhesive creates a large bonded area that spreads load beyond the screw shank. In softwood frames, dry‑fit first, then add construction adhesive or wood glue on every mating face and drive two structural screws at least 10× their diameter from any edge (for a 1/4 in screw, keep 2.5 in from end grain) to avoid splitting. Pre‑drill and clamp to ensure squeeze‑out; on plywood boxes, run screws at 6–8 in spacing along every edge. The drawback is disassembly: a glued stand is permanent, and a mistake costs you a panel. Dry‑fit with square and diagonals equal within 1/8 in before committing glue.
8. Skinning and Bracing: Diagonals Beat Extra Lumber
A single 1×3 diagonal brace from one lower corner to the opposite upper corner stops racking more effectively than doubling leg thickness. If you need open backs for plumbing, cross metal flat straps in an X with tensioners instead.
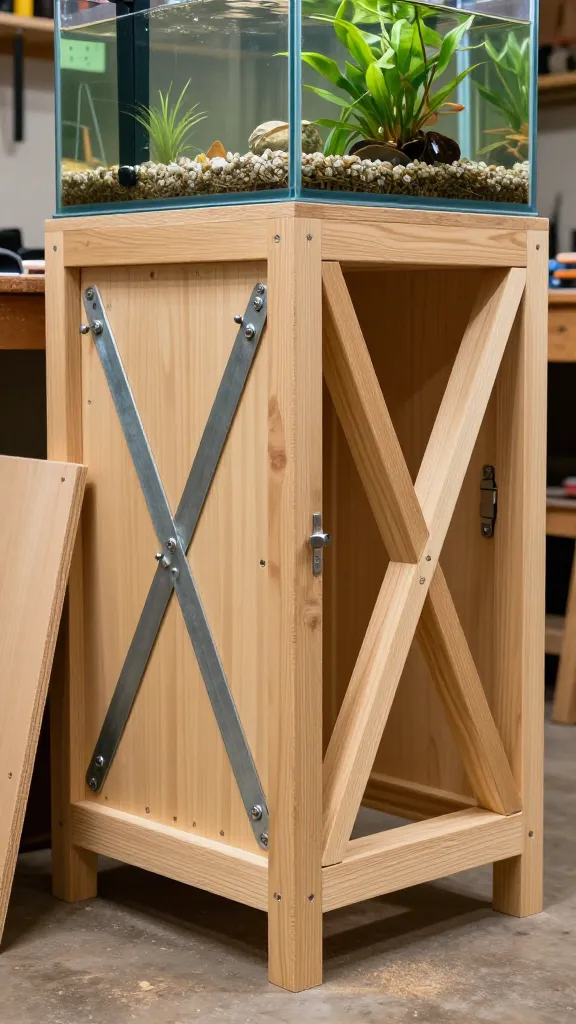
Under lateral loads, a frame without triangles can sway even if its vertical members are oversized; triangles lock geometry. Add a continuous back panel or install diagonal bracing: a single 1×3 diagonal from one lower corner to the opposite upper corner in both the back and one side stops racking more effectively than doubling leg thickness. If you prefer open backs for plumbing, use a pair of metal flat straps across the back in an X with tensioners and set them snug. Keep doors aligned with a center stile so the skin remains a structural diaphragm. The limit is serviceability: fixed backs make plumbing and wire management tighter; leave a 2–3 in pass‑through high on each side for hoses and CO2 lines.
How These Eight Builds Compare
Every approach below has earned its spot because it solves a specific problem well. The right choice depends on your tank size, your tools, and whether you need sump access. If you’re also browsing other fish tank stand ideas with load ratings, use this table to narrow down fast.
| Build Approach | Best Tank Size | Max Span | Est. Cost | Key Limitation |
|---|---|---|---|---|
| 2×4 Ladder Frame | Up to 75 gal | 48 in | $35–$45 | No rimless glass support |
| 2×6 Top Frame | 60–120 gal | 72 in | $60–$85 | Added height crowds sumps |
| Plywood Box Stand | Up to 90 gal | 48 in | $50–$70 | Plywood edges dent easily |
| Steel Angle Frame | Up to 120 gal | 72 in | $100–$140 | Corrosion near saltwater |
| Center Support Added | 75–120 gal | 48–72 in | +$10–$15 | Steals sump space |
Frequently Asked Questions
How much weight should a DIY fish tank stand be designed to hold?
Plan for at least 10 lb per gallon to cover water, glass, substrate, and rock, then add a 25% safety margin. A 55 gallon setup lands around 550–600 lb, so you design for 750 lb distributed across the footprint.
Do I need a plywood top under a rimmed aquarium?
No — a rimmed tank bears on the rim, so a perimeter frame that contacts it evenly is sufficient. Add a 1/4 in firm foam strip under the rim to even out minor irregularities and verify the perimeter is within 1/16 in level end to end.
What wood is best for a fish tank stand?
Kiln‑dried 2×4 or 2×6 works for frames and 3/4 in plywood handles decks and backs; seal all faces to reduce humidity cycling. Hardwoods add dent resistance but don’t fix a poor load path — the stand’s geometry matters more than the species.
Can I put a sump inside a 48-inch DIY stand with a center brace?
Yes, but keep the center support directly under the tank’s centerline and leave a door at least 20–24 in wide. A 20-gallon sump adds roughly 170–180 lb when full, so factor that into your total load.
How do I level a fish tank stand on an uneven floor?
Set the empty stand and use a 24–48 in level with composite shims to get under 1/16 in out of level across the top, then add 1/4 in firm foam between stand and tank. Do not rely on adjustable feet on soft subfloors — wide feet or a thin plywood pad spreads the load and prevents slow settling.
Build for Load Paths You Can Trace With Your Finger
Everything here reduces to one traceable path: weight flows into verticals, across short, deep spans, and through panels that keep the rectangle a rectangle. Tonight, lay a straightedge across your current stand — if you can slip a business card more than halfway under it anywhere, you’ve found the spot to stiffen before you fill.
Questions about your own setup? Leave them in the comments and I’ll work through them. — Maya