9 Red Cherry Shrimp Tank Setups — The Cheapest Colony That Breeds
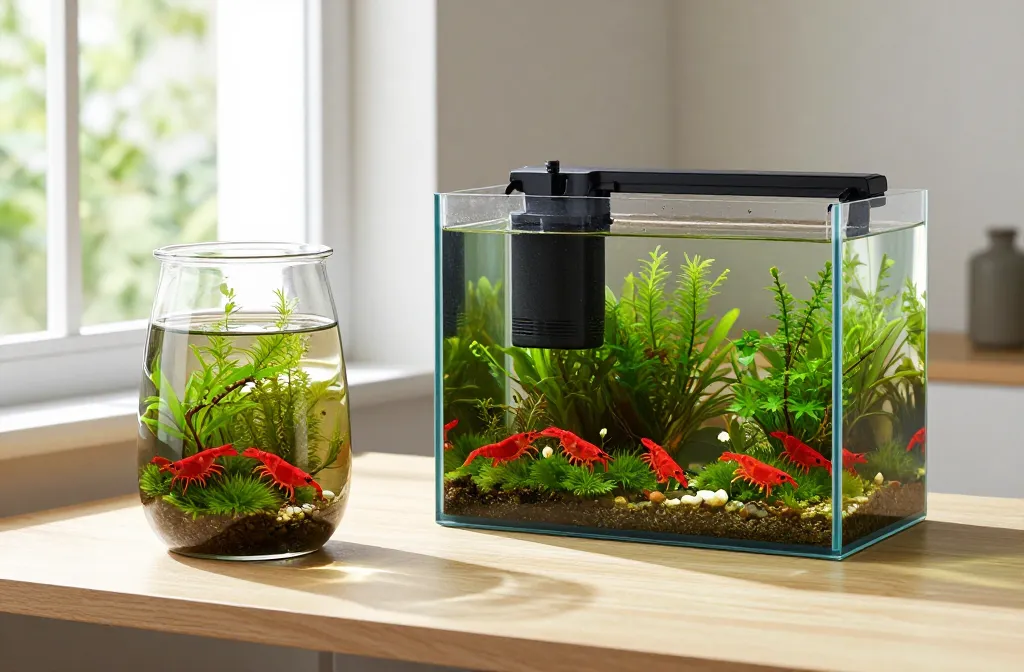
My red cherry shrimp tank setups live on one desk and one bookshelf; the newest sits next to a lamp where I mistook a shed exoskeleton for a death the first week. If you want a colony that actually breeds without a big budget, these red cherry shrimp tank setups cover glass, light, plants, and filters you can buy this month. By the end, you’ll know what to put in the cart, what to skip, and roughly what it costs to get a steady trickle of babies in 4–8 weeks. I crashed one build by rushing, and kept another going for 14 months on $8 of moss. Small and cheap still means cycled and stable — that’s the part we won’t compromise.
1. The No-Filter Window Jar: Moss, Light, and Patience
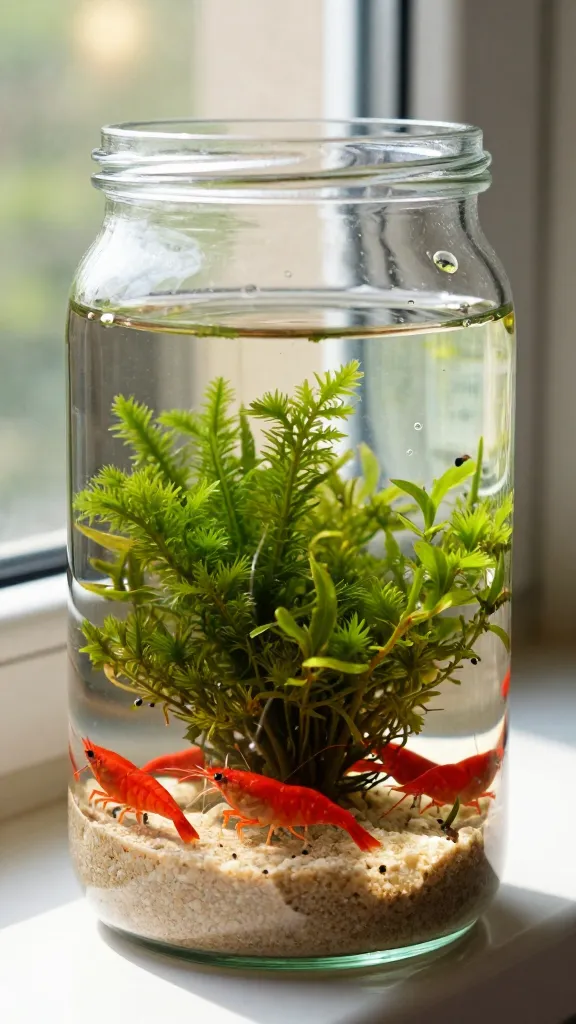
This is a 1–1.5 gallon wide-mouth jar with an inch of inert sand, a baseball of java moss (Taxiphyllum barbieri), and a clump of subwassertang (Lomariopsis cf. lineata) under a bright window, no filter. The plant mass does the filtration, the glass grows biofilm, and the shrimp graze all day. Mine cost about $45 including the jar, plants, and 10 shrimp, and it ran 11 months before I reset it. The weak point is heat swings and summer algae; if your window crosses 82°F for hours, you’ll lose babies. Start with plants only for 6–8 weeks so the micro-life blooms before adding shrimp.
2. 5-Gallon Sponge-Filtered Breeder: –0 to Start, Babies by Week 6

A standard 5-gallon rectangle, a small sponge filter on air, and a clip-on light set to 8 hours with java fern (Microsorum pteropus), water wisteria (Hygrophila difformis), and floating salvinia. This is the predictable workhorse: steady oxygen, gentle flow, easy maintenance. Expect $70–$110 for tank, lid, sponge, air pump, light, and plants; a starter group of 15–20 shrimp typically gives berried females in 3–6 weeks once cycled. The caveat is discipline: overfeeding pellets more than 3x per week will spike nitrates and stall breeding. Keep GH 6–8, KH 2–6, pH 6.6–7.6, 72–78°F.
3. The No-Heater Bowl on a Bookshelf (Seasonal)
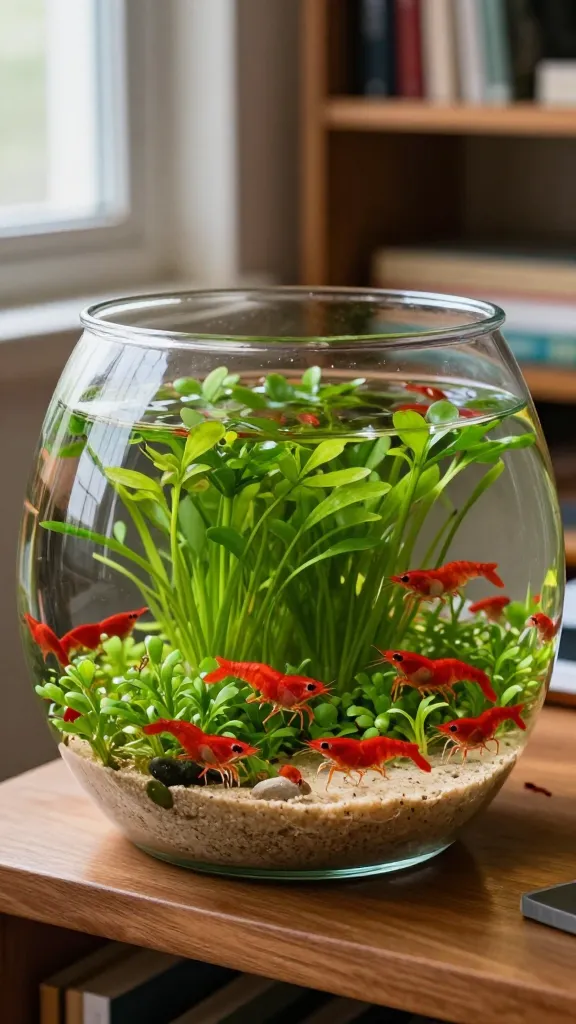
A 2-gallon glass bowl tucked on a shelf with a dense bundle of hornwort (Ceratophyllum demersum) and a pad of micro sword (Lilaeopsis brasiliensis), no filter, no heater. I ran this one from April to October when my room sat at 72–75°F; it cost me $30 for the bowl and plants, and I moved a dozen shrimp in after 6 weeks of plant-only time. It bred modestly (I counted 7 juvies by month three). Winter killed the idea — once the room dipped under 68°F, growth stalled. If your home swings more than 5°F daily, pick a filtered or heated option instead.
4. Red Cherry Shrimp Nano Cube: with Lid and a Carpet That Lived

A 4-gallon cube with a tight lid, a nano clip-on light, a sponge filter, and a thin layer of fine gravel planted with staurogyne repens up front and Anubias barteri var. nana on a small stone. I wanted a clean-front look that still grows enough biofilm, and the lid cut top-off to 1 cup/week. My cube was $95 all-in and produced the first saddle at week 5. The caveat is trimming the carpet every 3–4 weeks; if you let clippings rot, you’ll get a bacterial bloom. Keep flow low so shrimplets don’t pinwheel at the surface.
5. The No-Tech Tote in a Closet Nook

A shallow, food-safe clear tote of 3–5 gallons on a closet shelf, bare bottom with a raft of guppy grass (Najas guadalupensis) and frogbit under a cheap LED shop light on a timer. It looks like nothing, but it works because there’s zero glare and tons of plant surface. I seeded mine with mulm from another tank and spent $60 including the light; I counted 30–40 visible juveniles by month two. The downside is viewing — it’s for breeding, not display — and you must secure the cord and lid so it’s cat-proof and evaporation doesn’t crash parameters.
6. Desk Lamp Jar With Air: and Audible Bubbles

A 2-gallon cookie jar, air-driven sponge filter, and a desk lamp fitted with a daylight LED bulb, planted with Christmas moss (Vesicularia montagnei) and a sprig of Hydrocotyle tripartita. The lamp sits 10 inches above the water; light runs 7 hours. This one cost me about $55 and became my most reliable desk breeder, with tiny shrimplets visible against the glass by week 4. If bubbles at night will bother you, skip it or put the pump on a foam pad; also, keep the intake sponge pore size fine or you’ll lose a few babies in the first month.
7. The Planted Shallow: Fast Biofilm, Faster Trims
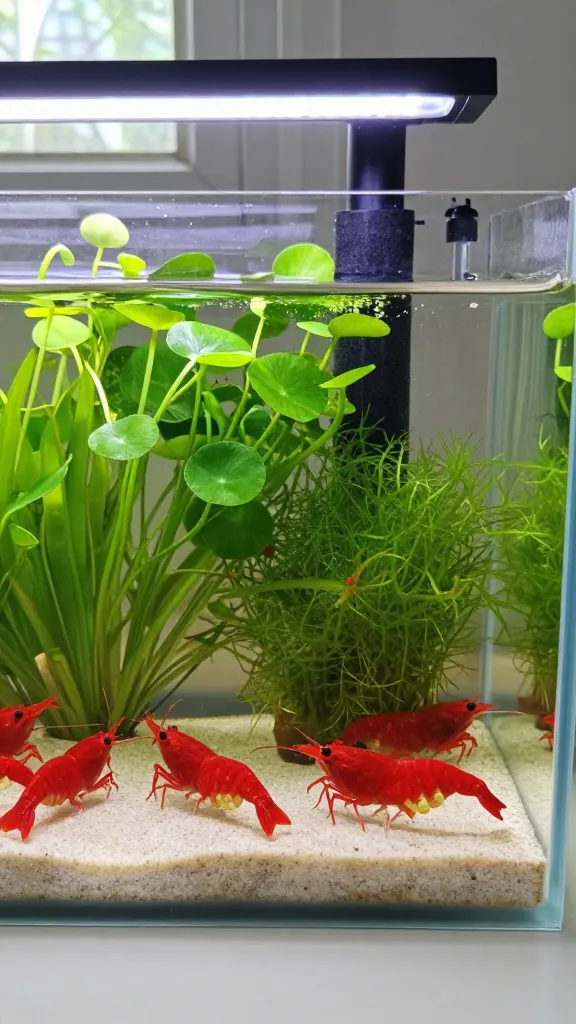
A rimless 3-gallon shallow tank (about 18 x 8 x 6 inches) with sand, a small powerhead with a pre-filter sponge pointed at the surface, and a bright bar light to grow a Hydrocotyle leucocephala raft and Riccia fluitans pad. The huge surface-to-volume ratio grows biofilm like crazy, and my berried females arrived at week 3, the fastest I’ve seen. Start-up was around $80 plus plants. The catch is evaporation — I topped off every 2–3 days with dechlorinated water to keep KH stable; without that, TDS creep can stall molts and breeding.
8. Heater-Ready 5-Gallon for Cold Rooms: –0 and No Winter Pause
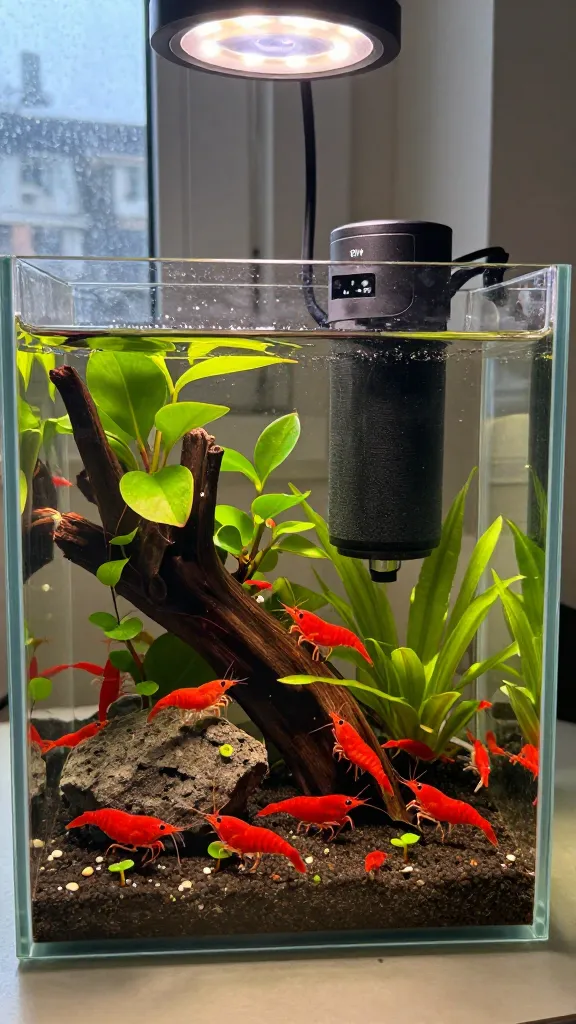
A 5-gallon with a 25W adjustable heater set to 76°F, a sponge filter, and low-tech plants: bucephalandra, Anubias nana petite, and java fern trident. If your apartment dips to 66°F in January, this prevents the breeding lull. Budget $95–$140 depending on the light; mine kept molting smooth all winter and I logged 3 generations in 5 months. The caveat: heaters fail both ways, so use a thermometer you actually look at, and keep the intake sponge tight — warmer water accelerates metabolism and waste.
9. The Plant-Only Prep Bin: Two Weeks That Save a Colony

A 2-gallon food-safe container filled with tap water, a clump of pellia or moss, and an airstone parked on a shelf. This isn’t the display — it’s where you run and rinse plants for 2 weeks so they colonize with your bacteria and shed any hitchhikers you don’t want. Mine cost $25 and has prevented at least one planaria bloom and a crash I would have paid for later. If you skip this step and dump new plants straight into a small tank, you gamble with parameter swings; it’s boring, but it’s the cheapest insurance in this whole list.
Frequently Asked Questions
How many red cherry shrimp do I need to start a colony?
Start with 10–20 to get genetic mix and a good chance of females berried within 3–6 weeks. In a 5-gallon with a sponge filter and plants, that group typically becomes 40–60 over 3–4 months if you keep feeding light and parameters steady.
Do red cherry shrimp need a heater to breed?
No, if your room sits between 72–78°F consistently, they’ll breed without a heater. If it drops below 70°F for days, growth slows and breeding can pause; in that case, a 25W adjustable heater in a 5-gallon keeps things stable.
What water parameters are best for a red cherry shrimp tank?
pH 6.6–7.6, GH 6–8, KH 2–6, 72–78°F is a safe middle. Aim for 0 ammonia, 0 nitrite and nitrates under 20 ppm. If you’re unsure how to test or remineralize, use a basic liquid test kit and read a beginner water guide first; it’s a 30-minute learn that pays off for years.
How long to cycle before adding shrimp?
Give planted builds 4–6 weeks with light and either a filter or an airstone before livestock. I’ve had berried females in week 3 only when I moved in seeded sponge filters; for a first tank, wait the full window and feed a tiny pinch of flake twice a week to keep bacteria fed.
Can I keep snails with red cherry shrimp?
Yes — ramshorn or bladder snails stay small and help clean up, and in my 5-gallon their adult size stayed under 0.8 inches. Keep feeding light, because overfeeding grows the snail crew faster than the shrimp and can push nitrates past 20 ppm.
Start Small, Start Planted, Start This Week
The colony comes from stability, not gear: plants first, light on a schedule, and food sparingly. If money is tight, grab a 1–2 gallon jar, a fist of moss, and an airstone for under $30–$45, get it running for 6 weeks, and the shrimp can follow.
Questions about your own build? Drop them in the comments — I answer all of them. — Maya